 In conjunction with our exhibition, Ennion and His Legacy: Mold-Blown Glass from Ancient Rome the Make Your Own Glass Workshop is offering a very special mold blown ornament project. We designed and created a blown glass grape cluster in the spirit of Ennion to celebrate the Ancient glassmaker as well as highlight the beautiful Finger Lakes wine country we live in.
I had the chance to design and create the model for our bronze cast grape blow mold. For those of you reading who don’t know what a blow mold is, I will do my best to explain. A blow mold can be made from a variety of materials: wood, graphite, plaster, aluminum or bronze are all commonly used. The mold is hollow and can have a pattern on the inside. A bubble of glass is lowered into the mold and the glassblower inflates the glass bubble. The bubble takes the shape of the inside of the mold. The glassblower then removes the glass from the mold and finishes the object in a variety of ways. Check it out here: https://www.cmog.org/video/mold-blowing
I was tasked with creating the master copy of the grape blow mold. This master copy would be cast in bronze at a foundry in Pennsylvania. The final product from this bronze mold would be a glass grape cluster offered as a Make Your Own Glass project at The Studio. I am a practiced mold maker and this mold was exciting because it required thought on both the inside and the outside surfaces of the model. I’ll do my best to walk you through the process—it involves many steps.

Here is the first grape cluster prototype. I placed clay over a blown glass bulb to help establish a proper size for the cluster of grapes.
The first step (and arguably the most important) was to create a positive sculpture of a cluster of grapes. One of my reference photos was this beautiful little flask from the first century AD. I created my model in an easily sculpted material, oil based clay. I made my grapes on top of a small glass bulb. This bulb helped me gage the size of the grape cluster. I didn’t want the model to be bigger than a single gather of glass but I didn’t want it to be too small either.
-

- Once the clay prototype was finished I dammed it and covered first one half and then the other half with plaster to create a two part plaster mold.
-
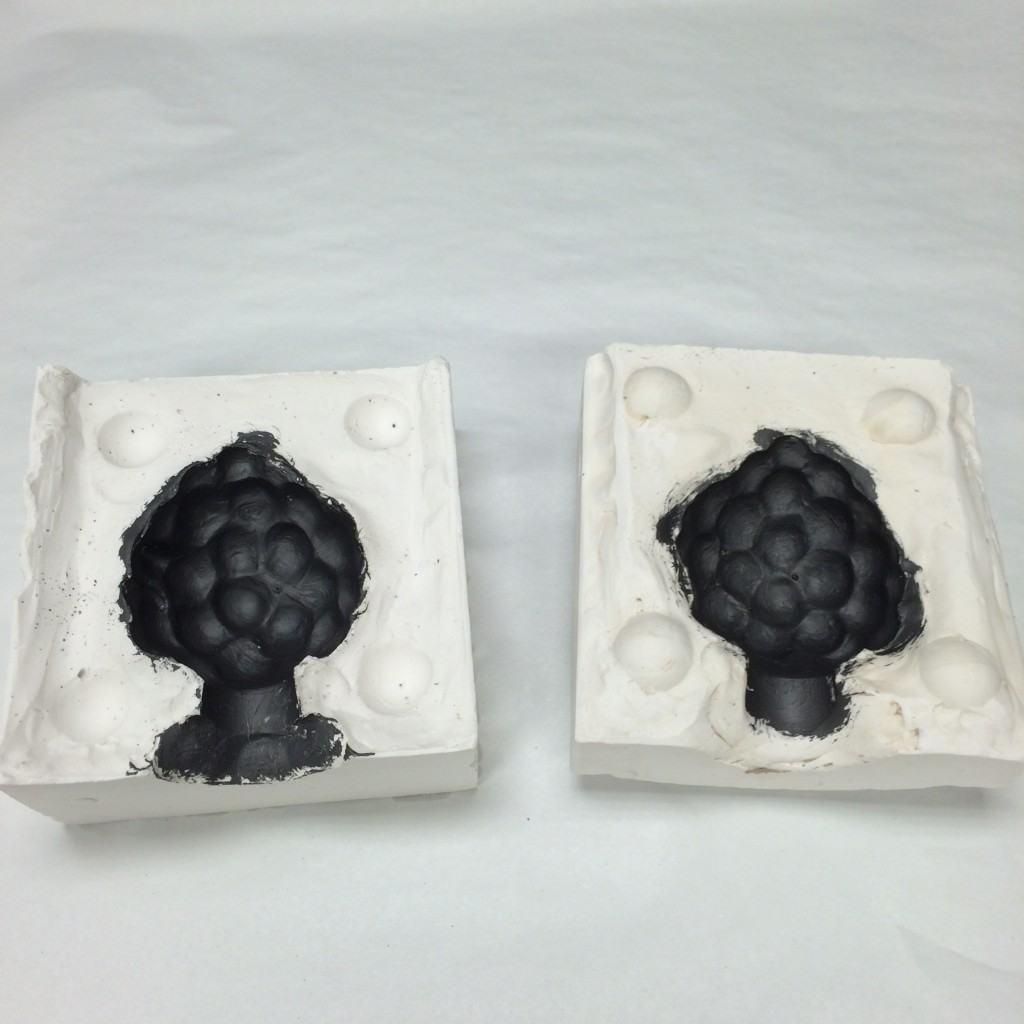
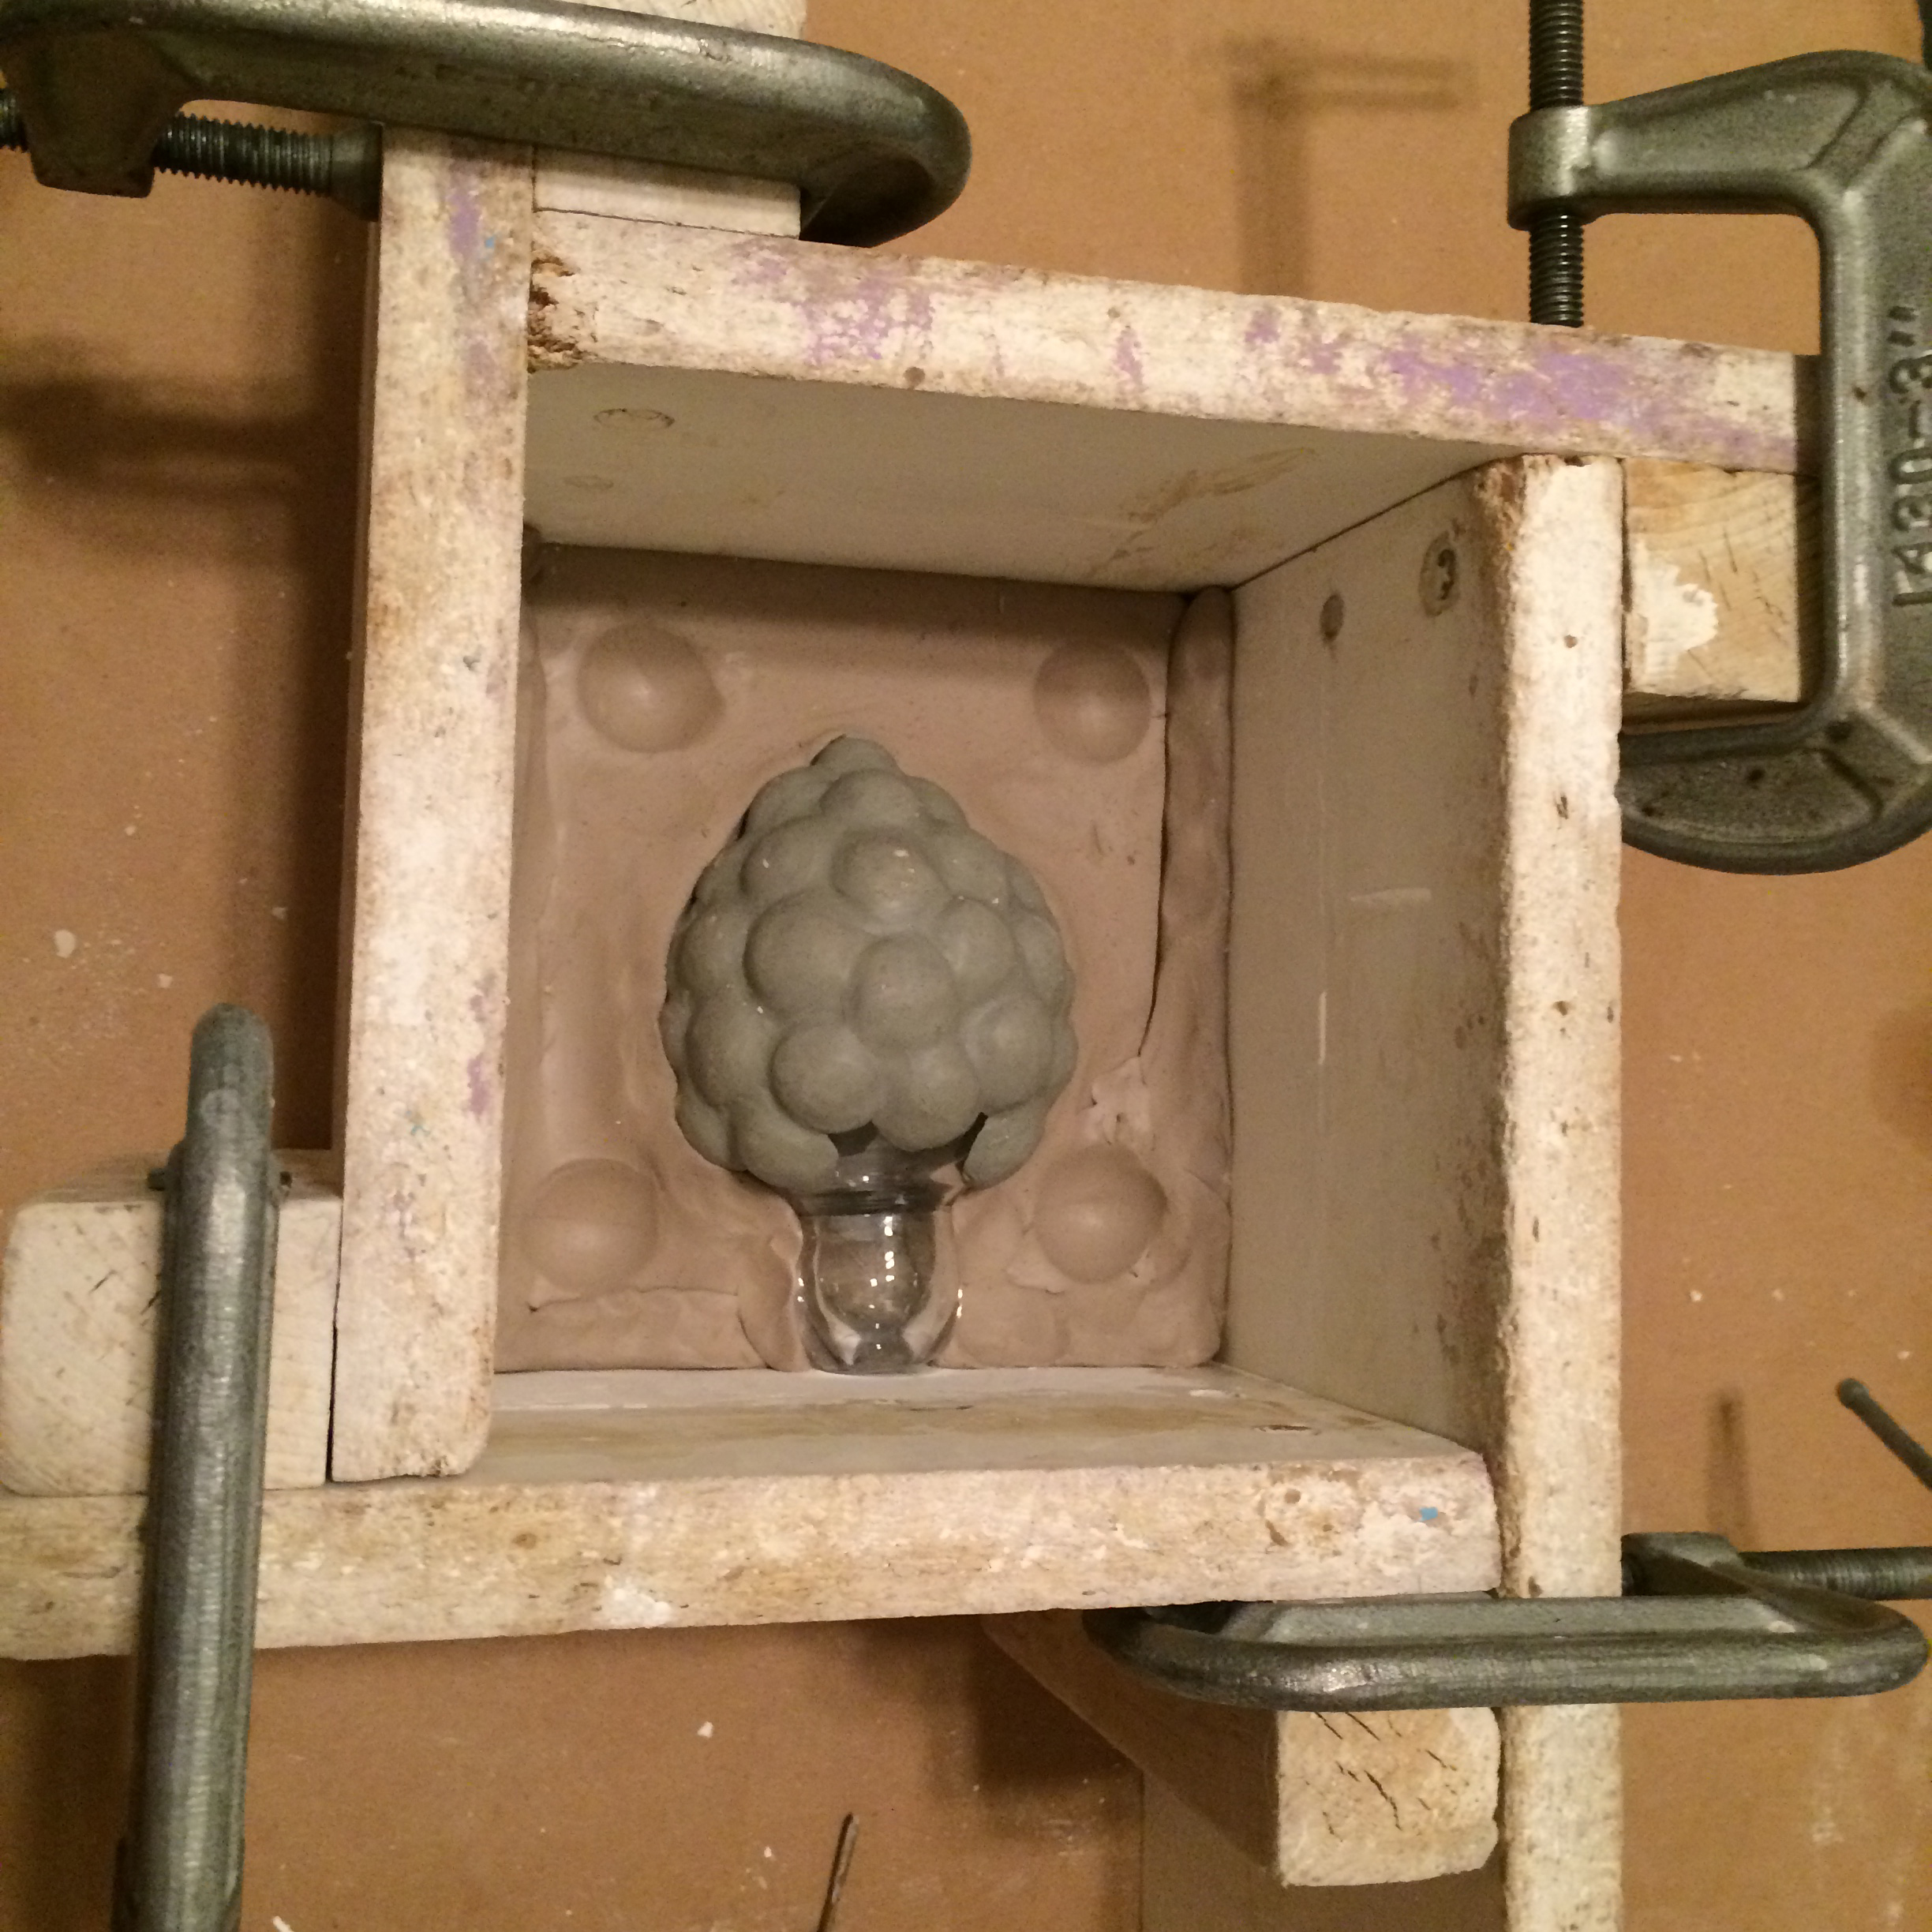
- The inside of the plaster mold was coated with graphite – a slippery substance that worked to keep the hot glass from sticking to the plaster.

Once the clay model was created, I made a temporary blow mold out of plaster. Plaster is a great material to test how the clay model might transform into glass. Plaster is a powder that you purchase dry. Once water is added to the powder it becomes a liquid. The liquid plaster sets and becomes a solid over the period of twenty minutes or so (give or take depending on the type). Plaster gave me a fast model that we could use to prototype the grape cluster. While plaster is a good material to make a prototype, it is not a permanent mold – it begins to degrade over a few uses.
With the plaster model in tow, I convinced Lyman Babbit in the MYOG workshop to help me test it out. The plaster model showed us how the final glass object would look and also let us locate the places in the mold where the glass ran the risk of getting stuck.

The first model wasn’t bumpy enough. The second model was too bumpy. The third one was just right.

Here you can see the difference material and color make. The left is our final shape in clay. The middle is how the final shape looks in clear glass and the right is the same shape looks in purple glass with a stem.
It took us a few tries to get the grape design dialed in. Once the shape of the grape mold had been tested and approved, I had to take a step backwards. It was time for phase two.

Silicone was pressed into the plaster mold to create a flexible grape model that would repel the next step – a coating of wax.
With the final grape shape settled on I needed to change the material of the grape cluster from oil based clay to a silicone. To do this I applied silicone into the hollow of the blow mold. Once the silicone set I had a flexible rubber grape cluster. This flexible rubber grape cluster was exactly the same shape and size as my clay model, the only difference being the material. I had to complete this extra step because I could not paint wax onto the clay – they would stick together and become one solid mass. (I learned this the hard way.) The silicone does not weld to the wax and is easy to remove once the wax cools and hardens.
-

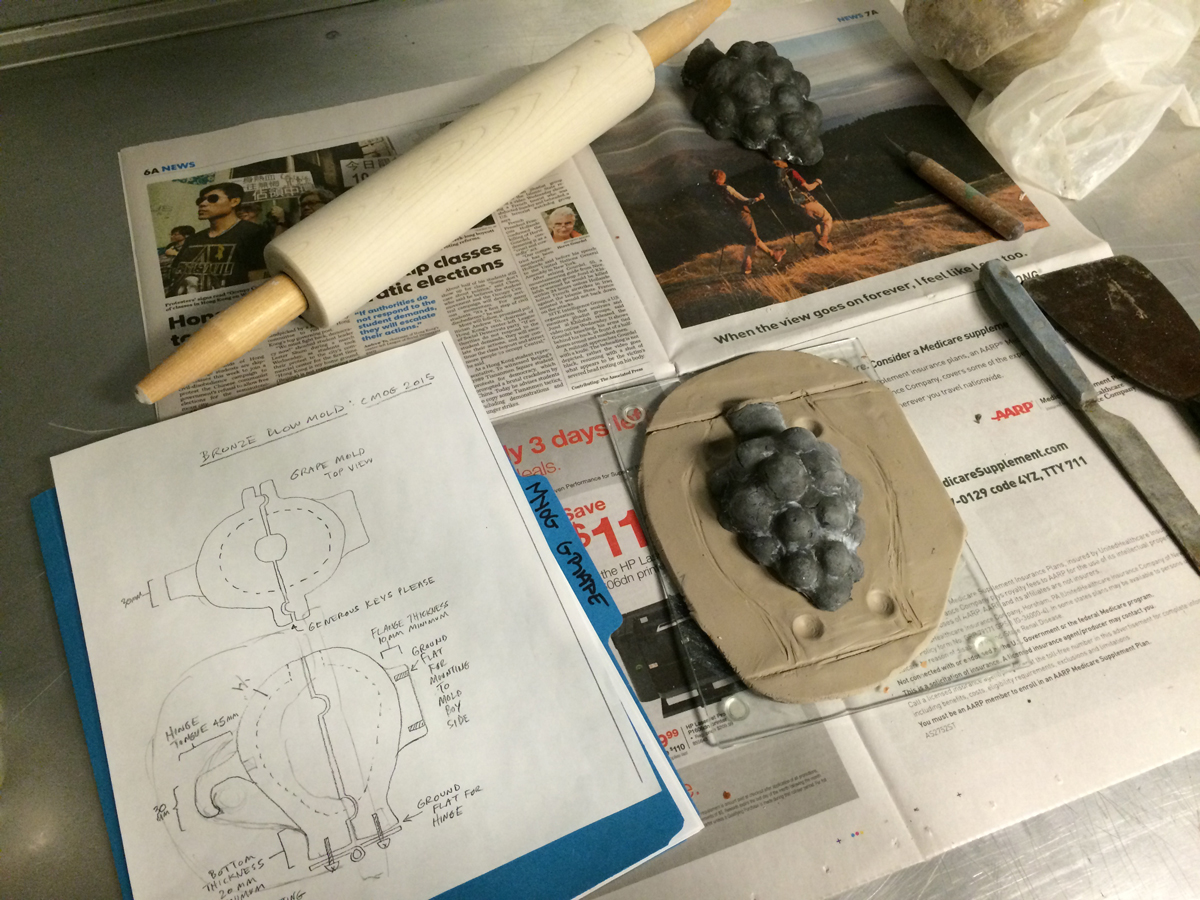
- A diagram of the desired exterior shape, along with the set up before wax is applied to the silicone grape cluster.
-

- The silicone grape cluster half covered in wax. It needs to be thicker, you can still see the outline of the grapes!
-
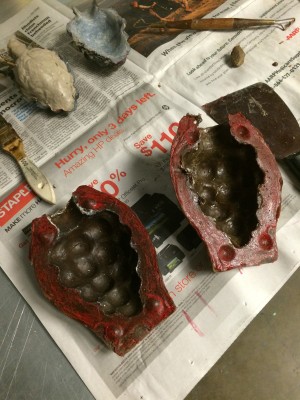
- The two halves of the model before the final wax cleaned up.
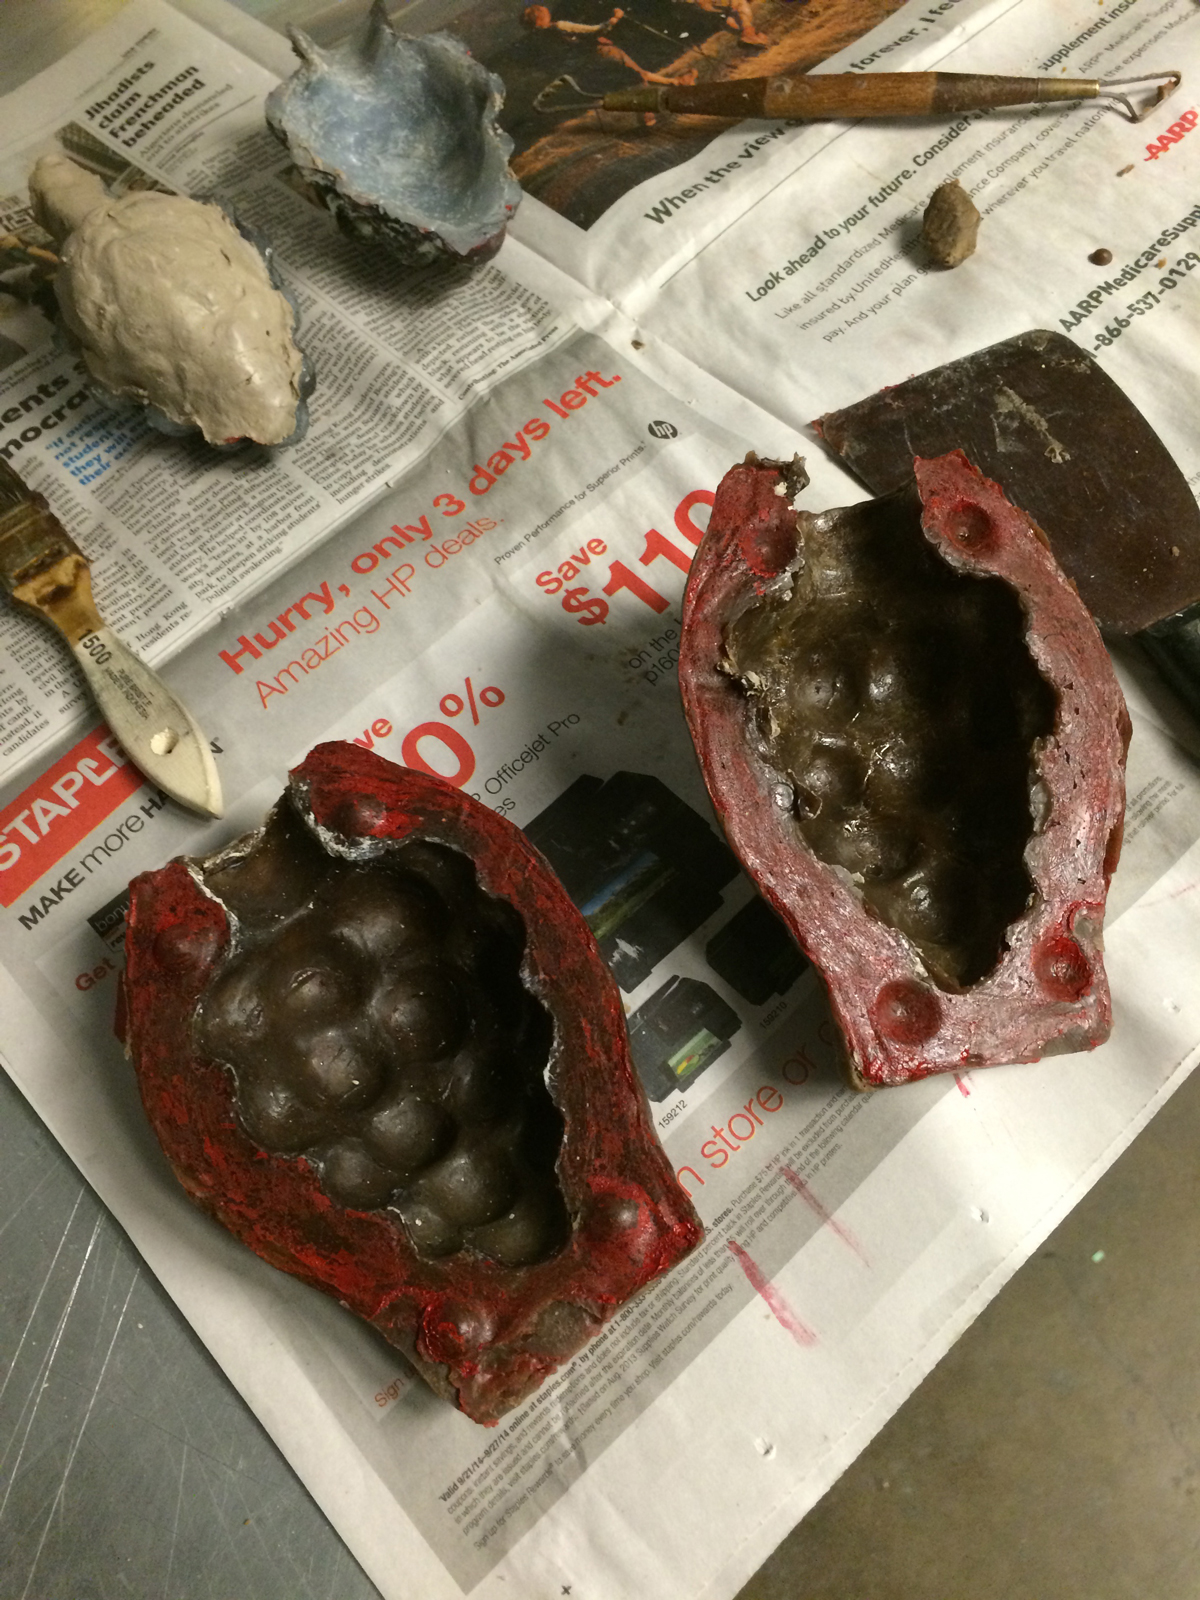
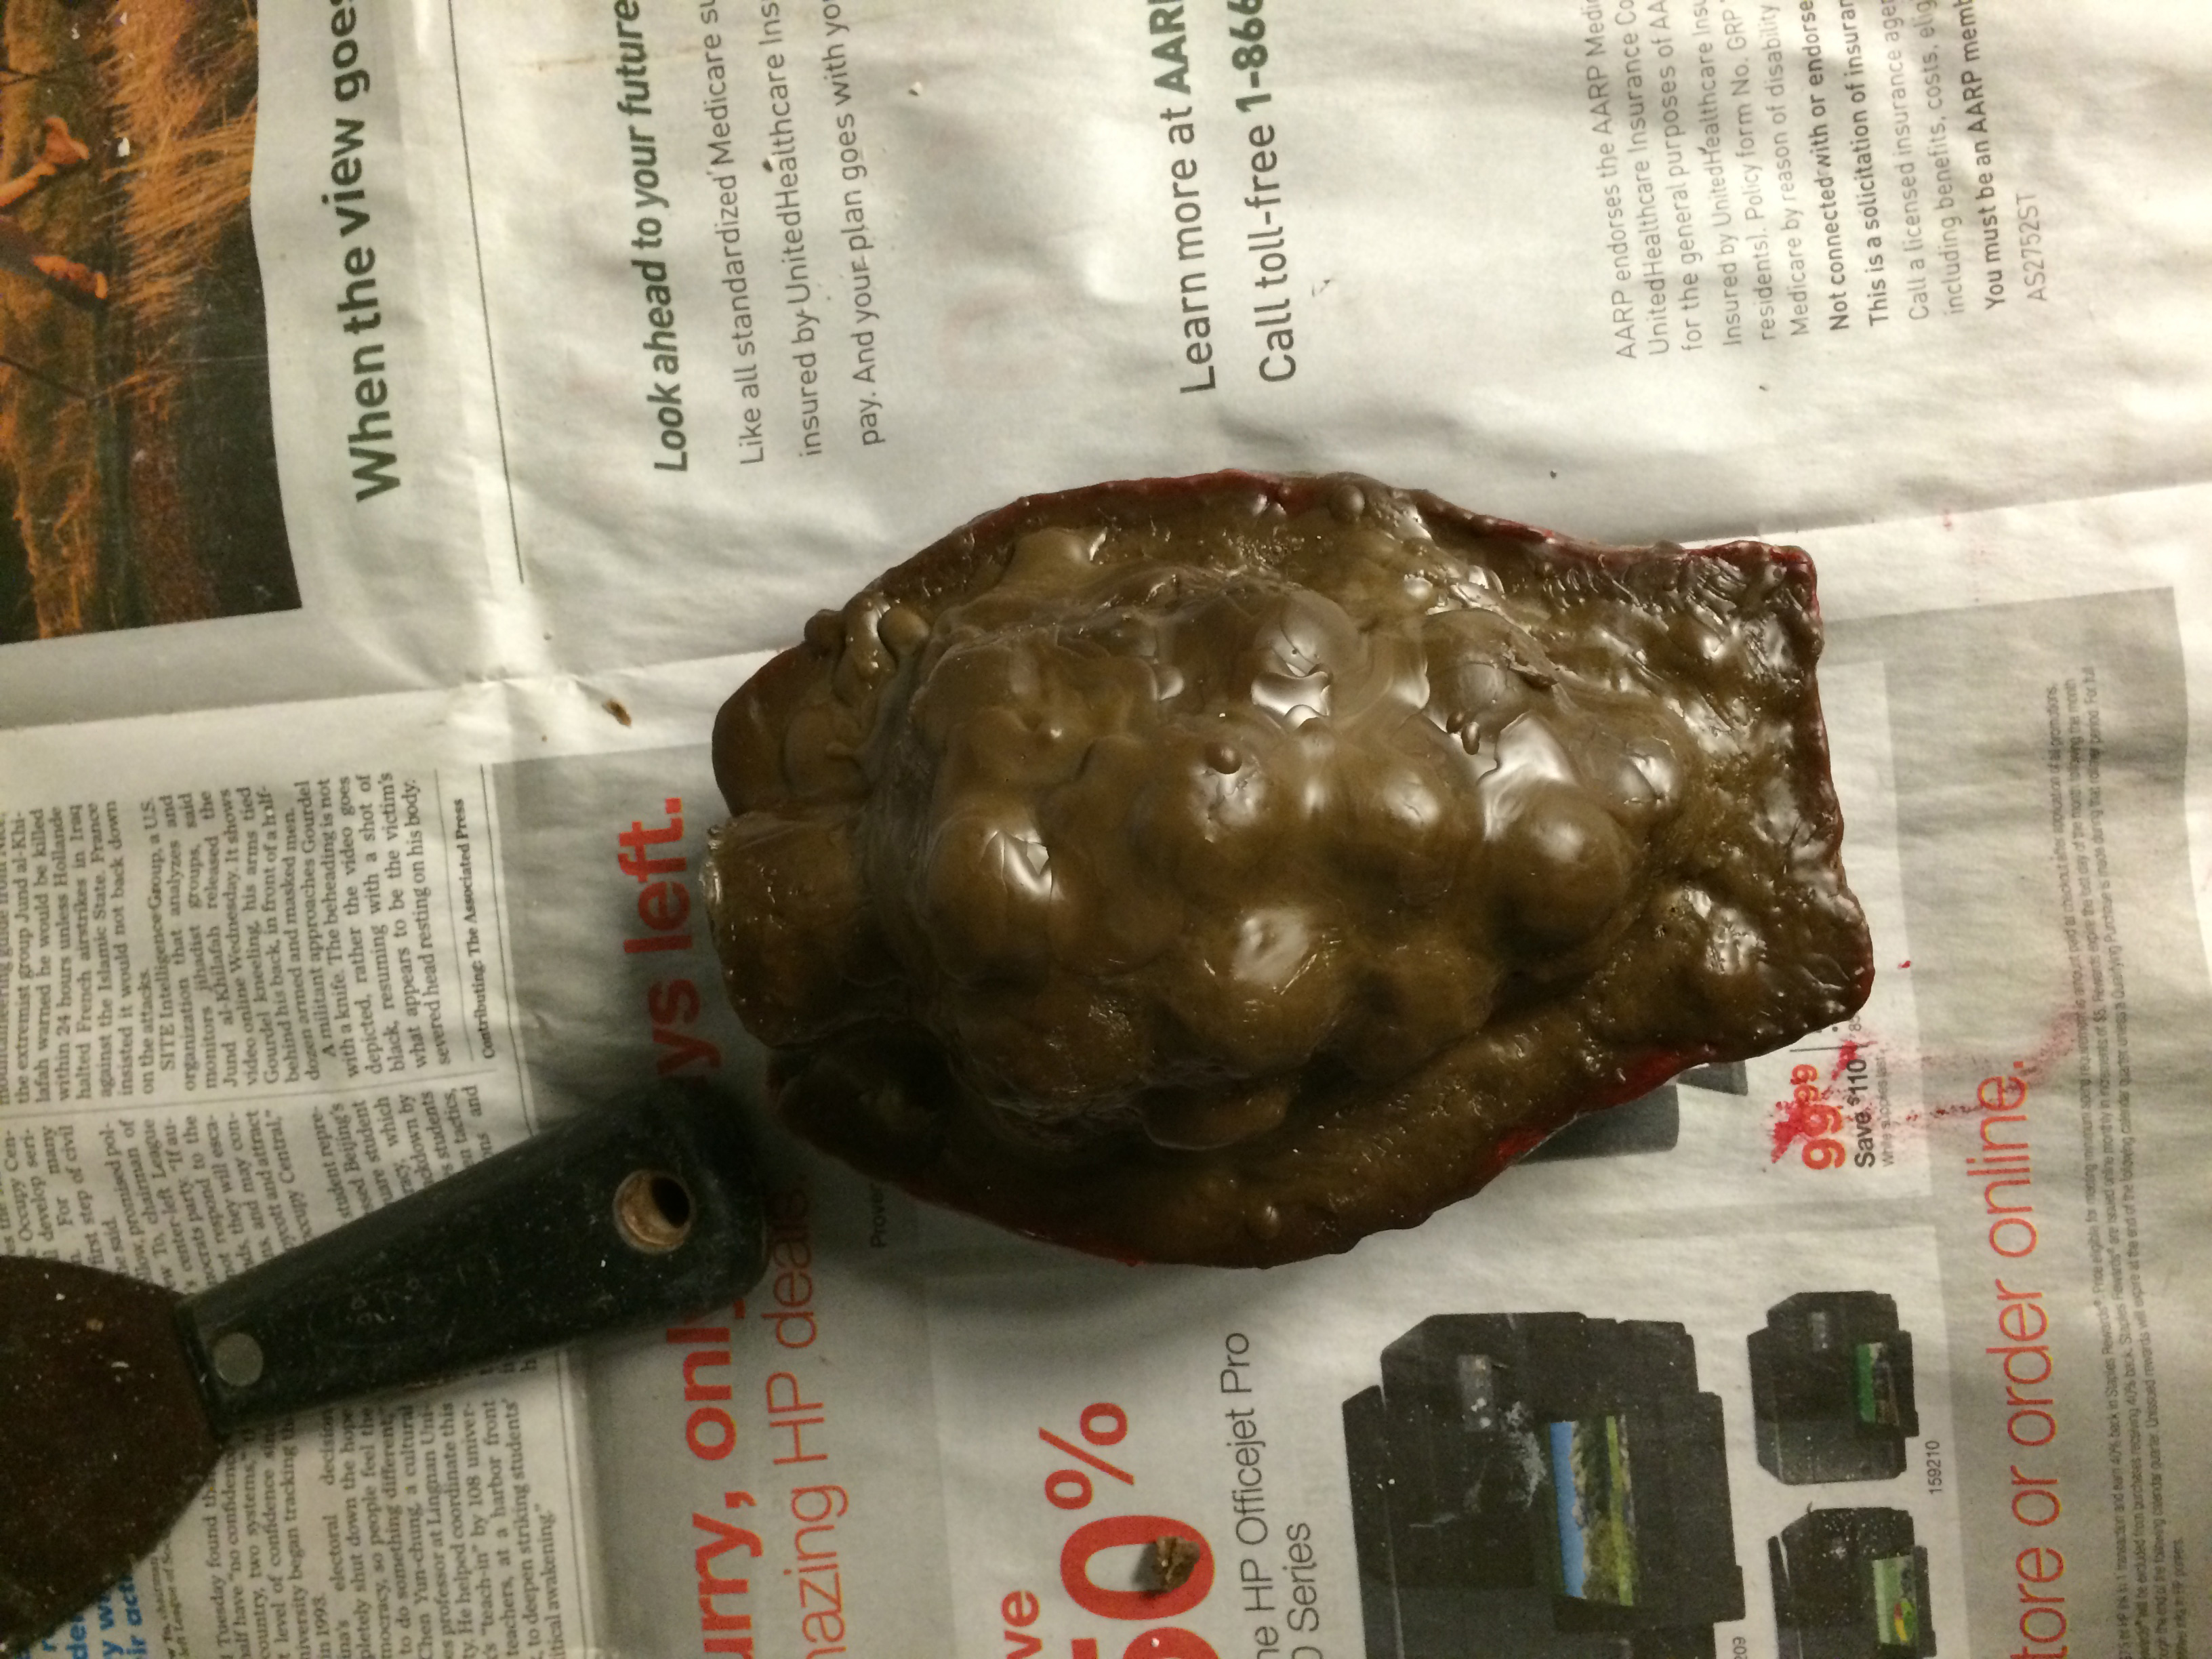
I painted warm wax onto the silicone positive to build up a thick layer of wax. Once I popped out the silicone positive I then had a block of wax with the negative shape of my grapes.
I then cleaned up the interior of the mold and moved on to the exterior of the model. The outside shape of this blow mold was as important as the interior. The outside needed to be mounted to a mechanism that would open and close the mold using a foot pedal. On the model there were places that needed to be thicker and thinner in the final bronze so that the mold could be drilled and then tapped. Once the outside of the model was blocked out I smoothed the wax and did a few last steps to finish the outside surfaces of the wax.

After cleanup and ready to be shipped out to a bronze foundry.
After all of these steps were completed I dropped the mold in the mail to a foundry to be cast in bronze.
Once the bronze molds were cast and returned to CMOG they went to the technician team at The Studio. The tech team fabricated a beautiful “mold boy,” which allows a glassblowers to open and close this two-part mold using only steady pressure from their foot.

The final bronze mold and its beautiful and functional ‘mold boy.’
With the “mold boy” created, the bronze blow molds then traveled to the MYOG workshop to be used for guest to blow their own grape clusters! You still have time to make your own grape cluster. This experience is available through January 4th 2016.
3 comments » Write a comment